STEP 5 - A FLOWER BLOOMS Congratulations - you have created something wonderful together! Now it’s time to share what you have grown: your group’s indigenous garden design. -> SHARE: Remember, the design will be shared with the class at the end of the i-Quest in the following three ways: in writing, visually and orally: |
 |
|
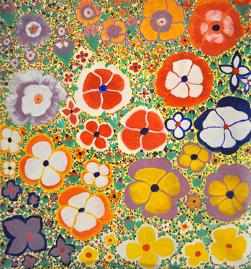
"Bush Flowers" by Angelina George (image courtesy of Muk Muk Fine Art) 1) Written: Each group must produce a one-page written overview of the design, addressing each of the five elements. This will be teacher assessed – click here to see the Evaluation Rubric. 2) Visual: How the garden design is presented is up to you. It can be in the form of:
This will be teacher assessed and peer assessed - click here to see the Evaluation Rubric. 3) Oral Presentation: Each group will have 10 minutes to present their garden design to the class and reasons behind it. This will be teacher assessed and peer assessed - click here to see the Evaluation Rubric (this is the same rubric that will be used to assess the visual part). There is also a self-evaluation rubric to complete about yourself at the end of the unit. Click here if you want to view this. Click here to move on to Step 6. |
||
|
|
This free website was made using Yola.
No HTML skills required. Build your website in minutes.
Go to www.yola.com and sign up today!
Make a free website with Yola